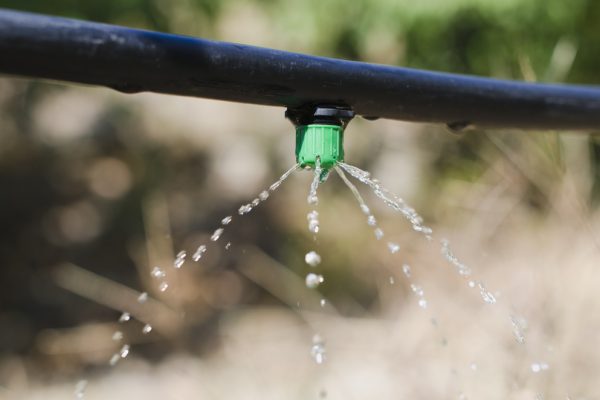
A drip irrigation system is a great alternative to watering your lawn and garden here in New Jersey. It helps you save time and money while conserving water. With these tips from Chris James Landscaping you can easily set up your own drip irrigation system.
Why Should You Use Drip Irrigation Systems?
A drip irrigation system is a simple way of slowly watering your yard through a system of tubes, valves, and timers. The water slowly drips directly to the roots of the plant and provides a steady source of water. It’s easy to install and prevents water loss due to runoff and evaporation.
Steps to Installing A Drip Irrigation System
You can either buy a premade kit or buy your own supplies. Either way, installing your own drip irrigation system is simple and takes only one day to complete.
1.Create A Plan
Measure your garden and then draw a simple sketch of the area where you want the drip irrigation system to be placed. Next, map out where you want the system to go so that it can efficiently reach all of the plants that need to be watered. Make sure you label the watering needs for each plant and soil if you have a variety in your garden.
It’s easiest if you group plants together that have the same watering needs to make it more efficient. Also, note on your map what size of dripper you’ll place for different plants.
2.Gather Your Supplies
The only tools you’ll need for this project are pruning shears and a special hole punch tool. Here are the supplies you’ll need to buy:
- Adapter
- Pressure regulator
- ½ -in. poly tubing
- 14-in. Vinyl tubing
- Barbed fittings
- Backflow preventer
- Small stakes
- Watering devices
- Filter
- Optional battery-operated controller to turn system on/off
3.Begin Installation at the Water Source
First, mount a basic “Y” shut off valve. Next, attach the timer (if you’re using one), filter, backflow preventer, pressure regulator, and adapter. The Y-splitter is important as it will allow you to use other hoses on the same faucet as your drip irrigation system.
4.Lay the Tubing
Connect the ½-in. tubing to your faucet then lay it through your garden according to the plan you created in step 1. Make sure you stake it down every 5 or 6 feet. Use your garden shears to cut the tubing and install T-fittings as needed. It will be easier to bend and shape your tubing as needed if you let it sit in the hot sun or in some hot water before you start and as you go along.
5.Connect the Watering Devices
Use the hole punch tool and to make a hole in each spot you want the water emitters to go. Next, attach bubblers, drippers, sprinklers, sprayers or use the line as a simple soaker drip line. You can also buy drip line with holes already in place. These are a great option for garden beds and rows of plants.
6. Flush Your System
Turn on your system to flush out any dirt that might have gotten into your system. When you’re done, turn the water off and put the cap ends on. Turn the system back on and let it run for about an hour. Check your plants to see if the water reaches the root system and make any adjustments as necessary.
How to Maintain Your Drip Irrigation System
It’s important to take care of your system once you install it to make sure everything runs smoothly. Follow these simple steps to maintain your drip irrigation system:
- Clean your filter monthly or more if needed
- Inspect your watering devices periodically to make sure they’re still working
- To prepare for winter, remove the Y-splitter at the faucet and the connected components. Remove the cap ends and blow out any residual water then replace the caps and plug the end of the tubing that connected to the faucet.
We Can Help You Install Your System
If you need help installing your drip irrigation system or if you simply just don’t have the time to do it, then leave it to Chris James Landscaping. We’re happy to help you out with all your landscaping needs here in New Jersey! Give us a call today.
